
How we DELIVER
- Communicate with all stakeholders to ensure we have a “Perfect Plan”
- Support all members of the design & build team to ensure the plan is executed smoothly
- Provide on-site services as needed to augment the construction team & sub-trades
- Empower our client with an easy-to-use, reliable system & convenient access to support.
6 Step System
1. Design
We work with the design team & client to establish priorities & create a plan for the space
2. Rough-in
Early in construction, various contractors complete framing, electrical and low-voltage infrastructure work
3. Trim & Final
As construction wraps up, the space is “finished” with flooring, wall/ceiling treatments & trim components. The room is ready for a final construction clean.

4. Commissioning
All equipment is setup & tested prior to delivery. Next, everything is installed on site, calibrated to the room and tested thoroughly.
5. Training & Handoff
An appointment is set with the client to get them started & comfortable using the system.
6. Ongoing Support
Once we’re finished, our service team will be available to help answer questions or respond as needed for help with your system.
Phase 1 – Design
- Amazing projects are the result of careful planning. All of our builds require a “Custom Design” package as a starting point.
Phase 2 – Rough-in
- Electrical and framing specifications are provided for your contractors to build-out the space as needed.
- Low-voltage and conduit requirements for the room are provided for your low-voltage contractor or electrician to complete. Alternatively, this can be provided as an additional service.
- To be completed during initial construction & electrical rough-ins. Before insulation or drywall can be installed.
- Flooring – Your flooring contractor will be on site to install the turf & transitions to adjacent flooring.
- Wall & ceiling protection – Protective treatments are installed in the space, consistent with the project plan.
- Wire terminations are completed, cables fished through conduit & wall plates are installed.
- Impact screen mounting system, screen material & trim is installed.
Phase 4 – Commissioning
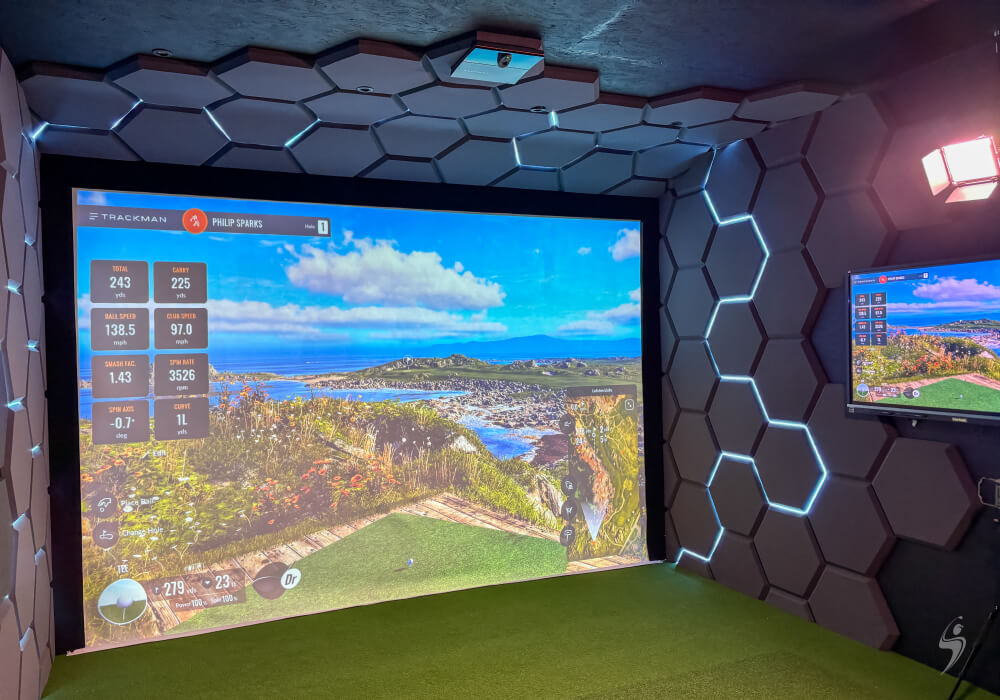
- Once the site is relatively clean & secure, we’ll install the golf simulator equipment. This includes projector, launch monitor, simulator control system, swing analysis cameras & any other hardware that is required for the project.
- We will fully test & calibrate the system
- We will take photographs, record video etc.as needed for your custom user guide & system instructions.
Phase 5 – Training & hand-off
- As soon as you’re ready, we will schedule an initial training session with you.
- We’ll provide a demonstration of all system features & share your user guide.
- You’ll try all system features yourself while we’re there to answer any questions that you may have.
- We’ll make sure you feel comfortable with the system & know how to reach out for help if you need it.
Friends Forever (Ongoing Support)
- We’ll be here to help if anything comes up in the future
Click here to learn more about our custom designs.
or Contact us to start the conversation about your own custom design